How to Find Photography for Your Slider
Do you want to create a slider with photography? Your site needs high-quality images, but where to find them? Luckily, there are hundreds of stock photography websites out there, many of them free. All it takes is knowing where to find them, how to choose the right photos, and adding them to your slider.
- Step 1. Find Photography Websites
- Step 2. Check the License
- Step 3. Choose Your Photos
- Step 4. Add Photography to Your Slider
Step 1. Find Photography Websites
The first step in this process is finding websites that host high-quality photography free or available for purchase. Luckily, we’ve already compiled a handful of the best ones.
- Unsplash is a growing collection of free photos, ranging from business and technology to landscapes and abstract themes.
- Pexels also offers free stock photos. Portraits, landscapes, and cityscapes seem to be especially popular. There are also free videos for your slider!
- Getty Images offers royalty free photos of high professional quality. It’s on the expensive side, but worth it if you need the best photos.
- Reshot’s images are designed to look natural, not like those awkward stock photos that are obviously posed. Add a little authenticity and life to your site with these.
- StockSnap.io is packed with variety. There’s no end to the diversity here — whatever you’re looking for, you’ll probably find it here.
There’s way more than this list out there, but these are a few of the best resources.
Step 2. Check the License
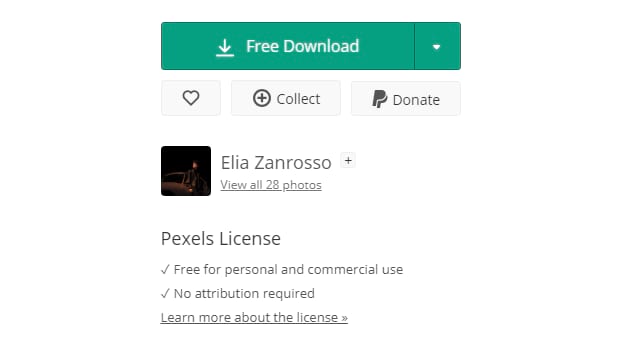
Before you download anything, you’ll want to check the license. Some photography sites have restrictions like attribution required. Look for an FAQ or a license listed next to the images.
- CC0 and Public Domain images are your best friend — they’re free to use as you wish, for any commercial or non-commercial purposes.
- Other Creative Commons licenses can have extra stipulations, including non-commercial use only. Make sure to read carefully.
- Royalty Free images are often found on paid stock websites. With this license, you can use the image as often as you want after paying a fee, without having to pay royalties for each use.
- Rights Managed images are trickier and more expensive. Often you can only use the image a certain length of time, or only in specific ways. For simple website graphics, it’s best to avoid RM licenses.
You should always read the fine print, but this is a basic rundown of the common license types.
Step 3. Choose Your Photos
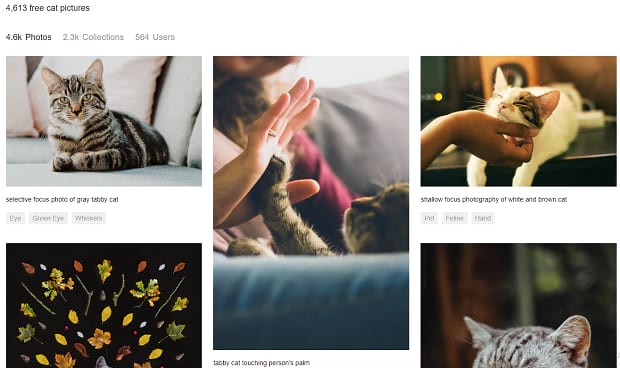
Now it’s time for the fun part: finding the right photos for your slider. From here it depends on what you’re going for. If you want a pretty background for your captions, try searching tags like “abstract”, “aesthetic”, and “background”.
Try being roundabout in your phrasing. Instead of searching for something straightforward like “computer”, try “developer” or “web designer”. Every tech blog out there is looking for “computer” images and picking the first few results. Even adding a little context like “office computer” or “gaming computer” can differentiate your site from others.
In a slider, you’ll probably want images that have the same style. Pairing abstract photos next to corporate group shots and random landscapes will be jarring. Try to pick images that make a nice, analogous blend.
Finally, make sure the images you’re choosing are high quality (not blurry), large enough, and the right aspect ratio for your slider.
Step 4. Add Photography to Your Slider
Once you’ve downloaded your photos, it’s time to add them to your Soliloquy slider. First, you might want to do some basic photo editing and resizing/cropping.
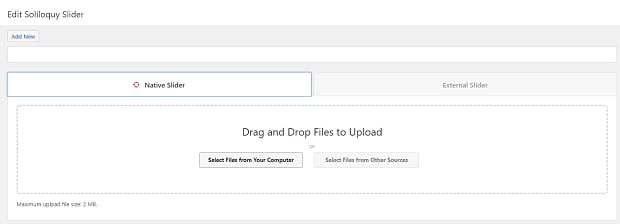
With your images ready to upload, log into WordPress and go to Soliloquy » Add New. Now you can drag and drop the photos from your computer, click Select Files From Your Computer, or select images already uploaded to WordPress.
Now you just need to finish creating your slider. Change the slider size, tweak settings, and add captions. When you’re done, use the shortcode to display your new slider on a post or page, and you’ve done it.
Photos for Your Slider
Having to take your own images, or hiring someone to take custom photos, just isn’t sensible for most websites. Stock photos can get the point across perfectly well, are easy to find, and often free or cheap as well. Whatever your budget, images to fill your slider with are easily found online.
Need something handmade for your slider? Check out How to Find Illustrations for Your Slider.
Did you find the perfect photos? Remember to follow us on Facebook and Twitter to see more tutorials.


