
How to Create an Image Slider in WordPress
Do you want to add an image slider to your website? Image sliders are a great way to display photos or featured content on your site. In this article, we will share how to create an image slider in WordPress.
To create and configure an image slider in WordPress, you’ll need to follow these 10 steps:
- Step 1. Install the Soliloquy Slider plugin
- Step 2. Add a new slider
- Step 3. Add images to your slider
- Step 4. Configure slider settings
- Step 5. Configure mobile settings
- Step 6. Configure miscellaneous settings
- Step 7. Publish and copy your shortcode
- Step 8. Add slider to post or page
- Step 9. Add features to your slider
- Step 10. Understanding your Soliloquy license
By the end of this tutorial, you will have a fully customized image slider that looks something like this (depending on your chosen settings):
Ready to get started? Let’s go!
Step 1: Install the Soliloquy Slider Plugin
First thing you need to do is purchase the Soliloquy WordPress Slider plugin.
After purchasing the plugin, you can install and activate it to your WordPress site. If you need help, check out this guide on how to install a WordPress plugin.
Once the plugin is installed, you are ready to add a new image slider in WordPress.
Step 2: Add a New Slider
To add a new slider, simply go to Soliloquy » Add New from your WordPress backend.
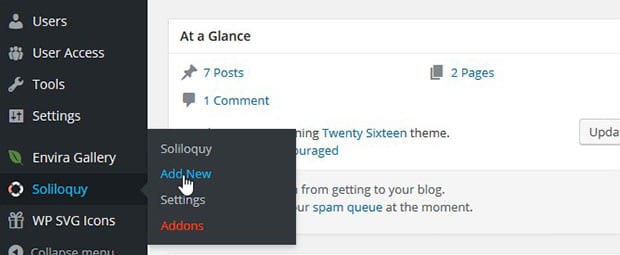
It will open up a new window to add images and other details to your slider. Go ahead and write a title for your image slider.
Step 3: Add Images to Your Slider
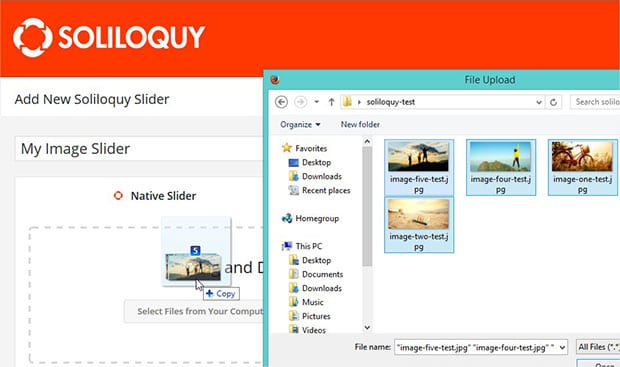
Next, add images to the Native Slider section. (We will discuss the External Slider tab later in this tutorial.)
All you have to do to add an image is either click on the Select Files from Your Computer button, or drag and drop them onto the window.
Step 4: Configure Slider Settings
Just below the Slider tab you will see the Config tab. Click on it to view your image slider settings.
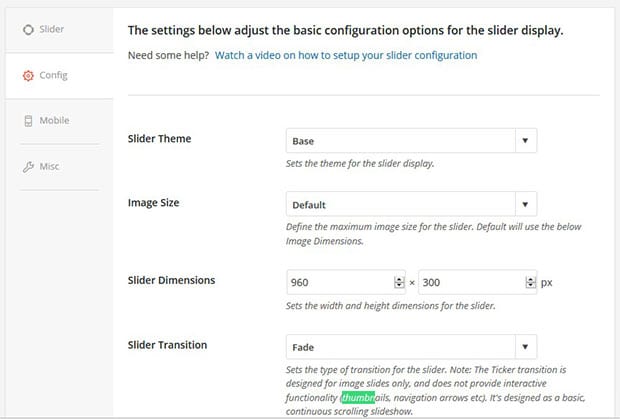
Here, you can select the slider theme, image size, slider dimensions, and more. Change these to suit your needs.
Step 5: Configure Mobile Settings
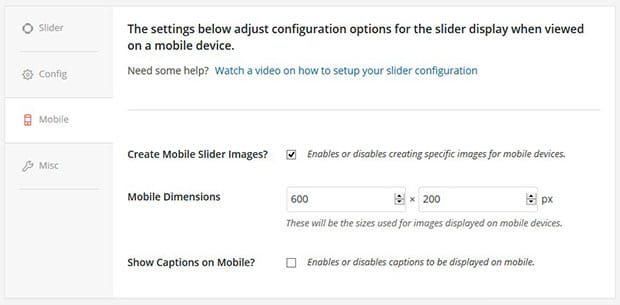
The next tab down is the Mobile tab. Here, you can enable or disable mobile slider images, set the mobile dimensions and enable or disable captions for mobile.
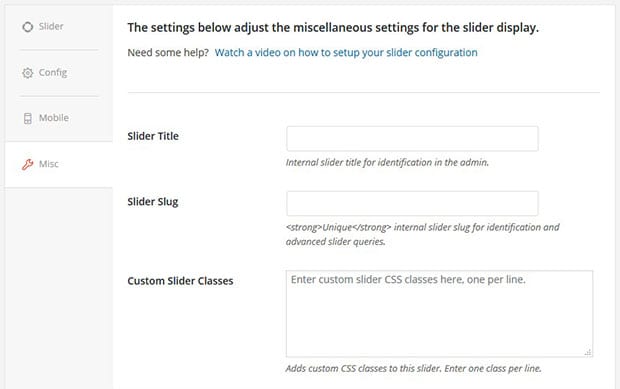
Step 6: Configure Miscellaneous Settings
The final tab is the Misc tab. This tab allows you to set the internal slider title, slug, custom CSS classes, and more.
Step 7: Publish and Copy Your Shortcode
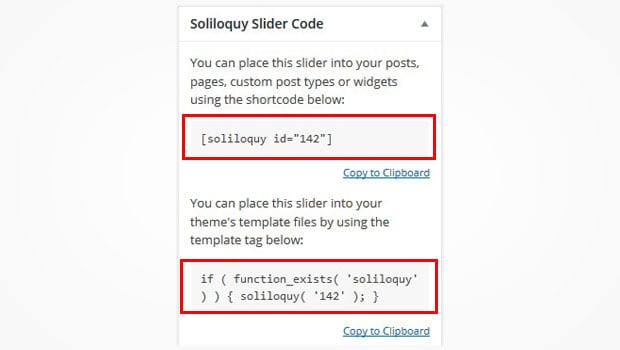
Once you are satisfied with your settings, hit the Publish button. Then, look for the Soliloquy Slider Code widget.
Copy the shortcode from this widget. You will need this shortcode to add the image slider to your posts or pages.
Or, if you want to place the slider in your theme’s template files, then you’ll need to copy the template tag.
Step 8: Add Slider to a Post or Page
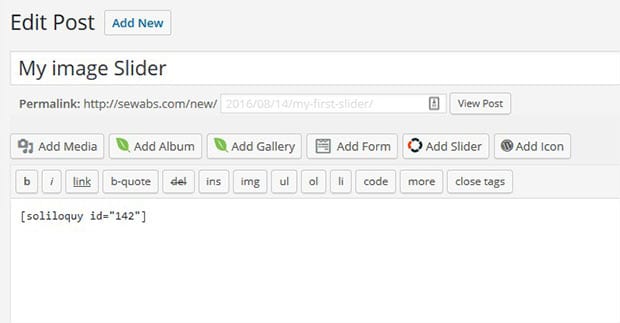
Add or edit a post where you want to add the image slider. Then, simply paste the shortcode into the visual editor and click on the Update button.
Your image slider will now be displayed on your website! Check out this demo slider to see how it will look:
Step 9: Add Features to Your Slider
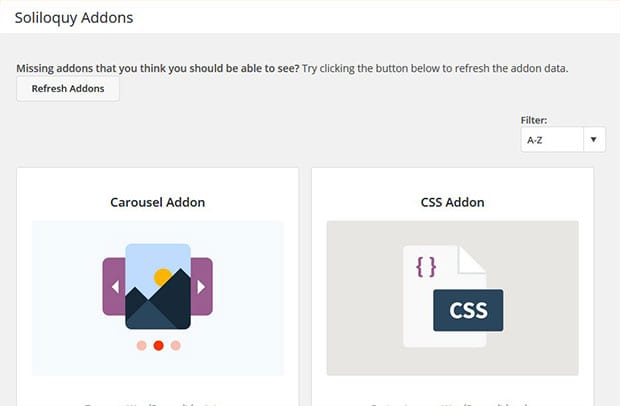
To add more features, go to Soliloquy » Addons and check out all the available addons. Soliloquy has over 10 amazing addons that help you to create a robust image slider in minutes.
Step 10: Understanding Your Soliloquy License
There are 4 types of Soliloquy licenses available for you to choose from…
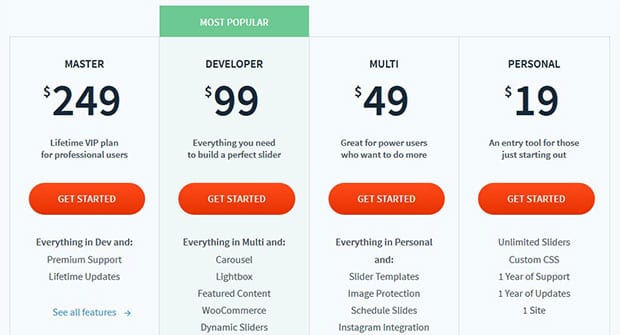
Every license allows you the access a certain number of addons. So depending on how many features you need, you can always upgrade your license to get the access to additional features.
For more details, check out our guide on how to upgrade your Soliloquy license.
We hope this article has helped you to learn how to create an image slider in WordPress. You may also want to check out our guide on how to create a WordPress slider with a contact form.
If you like this article, then please follow us on Facebook and Twitter for more free WordPress tutorials.





Keren Susi
Regarding Soliloguy, I’d like to use it for several radio stations like a “now Playing”. Our programs stay the same on a regular basis but time change according to time of day. Will this work for us have a M-F, Sat and Sun schedule for 6 stations.
Waseem Abbas
Hey Keren, please contact our support team for your query, and they will help you create the image sliders on your requirements. 🙂
Kelly Waldygo
Hi! So I followed your instructions and everything seems to work. However, what if I want to place my slider on my home page of my blog rather than on a specific post or page? My current theme already has the option to have a slider on the home page, but it doesn’t allow me to customize it the way that I’d like. Is there a way to replace the slider that my theme defaults to with the one that I created using Soliloquy? The theme I’m currently using is Writee Grid.
Thank you!
Waseem Abbas
Hey Kelly, yes you can absolutely do that with your Soliloquy slider. Simply follow this step by step guide on how to add a homepage slider in WordPress. Please let us know if we can help with anything else. 🙂
Ready to start creating slides the easy way?
Get Soliloquy Now