Soliloquy Documentation
Documentation, Reference Materials, and Tutorials for Soliloquy
Documentation, Reference Materials, and Tutorials for Soliloquy
Would you like to add the author, date and category to your featured content sliders? This is as simple as creating a custom plugin and copying our code. We’ll walk you through the steps on how to add some extra fields to your featured content sliders.
Note: This walk through is a little more technical than our other tutorials. But we’ll walk you through the process step by step. In order to add these new fields to your featured content sliders we’ll need to create and upload a basic WordPress plugin.
First you’ll need to add the following code to a new file at wp-content/plugins/soliloquy-add-date-category-fc-slider.php.
function sol_soliloquy_fc_date_terms( $content, $post, $data ) {
// Start Config
$sliderSlugs = array(
‘your-slider-slug-name’,
);
// Check slider ID is the one we want to amend
if ( ! in_array( $data[‘config’][‘slug’], $sliderSlugs ) ) {
return $content;
}
// Build date and taxonomy terms content
$additional_content =
‘<div class="soliloquy-fc-author-name">’
. __( ‘Posted by: ‘, ‘soliloquy-featured-content-date-terms’ ) . get_the_author_meta( ‘display_name’, $post->post_author ) . ‘
</div>’;
‘<div class="soliloquy-fc-date">’
. __( ‘Published on ‘, ‘soliloquy-featured-content-date-terms’ ) . get_the_date( ‘dS F Y’, $post->ID ) . ‘
</div>’;
‘<div class="soliloquy-fc-category"> ‘
. __( ‘in ‘, ‘soliloquy-featured-content-date-terms’ ) . get_the_term_list( $post->ID, ‘category’, ‘Categories: ‘, ‘, ‘ ) . ‘
</div>’;
// Return content
return $content . $additional_content;
}
add_filter( ‘soliloquy_fc_caption’, ‘sol_soliloquy_fc_date_terms’, 1, 3 );[/php]
If you’re unsure how to create a plugin file, follow these steps below:
soliloquy-add-date-category-fc-slider.phpRemember to change the $sliderSlugs and the get_the_term_list to match your needs.
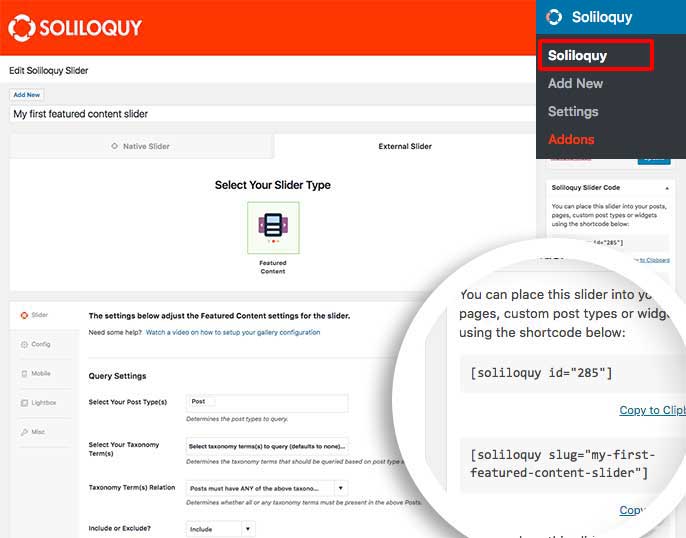
In order to find your slider slug name just edit the slider and in the Soliloquy Slider Code sidebar you’ll see the slug name.

If you’d like to add more than 1 slider, just separate the slider slug names by commas.
In order to find the taxonomy of the term you want to use, this would depend on the plugin or code your using.
For our example, we’re going to use the post categories.
The name for WordPress Categories is called category.
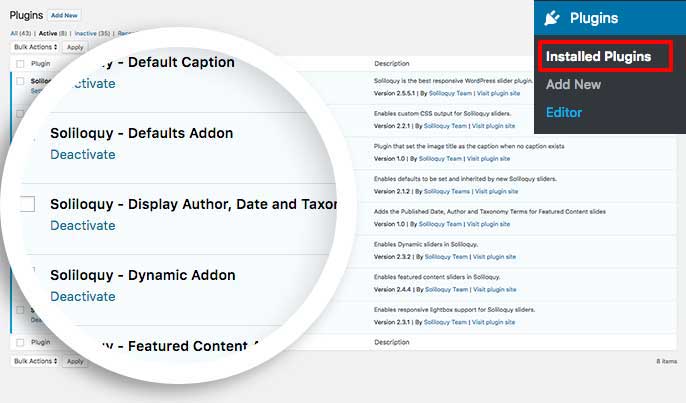
Your last step is to activate the plugin. To do this, just go to the Plugins from within your WordPress dashboard and activate the Soliloquy – Display Date and Taxonomy Terms on Featured Content Sliders plugin.

In addition to adding these fields, you may want to style them as well. As shown below we’ve given you some basic CSS to get you started on styling the new fields.
[css].soliloquy-fc-author-name {And that’s it! Would you like to try out styling the Soliloquy captions? Take a look at our article on How to Customize the Soliloquy Caption.