
How to Setup Default WordPress Slider Settings to Save Time
Do you want to specify default settings for your WordPress sliders? Sometimes you need to create multiple image sliders, and it takes a while to repeat the same settings manually every time. In this article, we will share how to setup default WordPress slider settings to save time.
Some WordPress themes have the ability to add an image slider. However, these sliders have limited features and usually do not come with the option to specify default settings. To add default settings for your sliders, you’ll need the Soliloquy plugin so you’ll have access to its Defaults addon.
With Soliloquy, you’ll only have to set the default settings once, and then they will be automatically applied to every new slider you create.
To setup default WordPress slider settings, you’ll need to follow these steps:
- Step 1. Install and activate the Soliloquy Slider Plugin
- Step 2. Install and activate Soliloquy’s Defaults Addon
- Step 3. Edit the Soliloquy Default Settings slider and add your settings
- Step 4. Create a new image slider with Soliloquy
- Step 5. Add your slider to a post or page
Ready to get started? Let’s go!
Step 1: Install and Activate the Soliloquy Slider Plugin

First thing you need to do is install and activate Soliloquy WordPress Slider plugin. You’ll need a Developer or Master license to access the Defaults addon that will save you time. If you aren’t sure how to install Soliloquy, watch this video tutorial below.
Step 2: Install and Activate Soliloquy’s Defaults Addon
In the next step, you need to go to Soliloquy » Addons.
Then, install and activate the Defaults Addon.
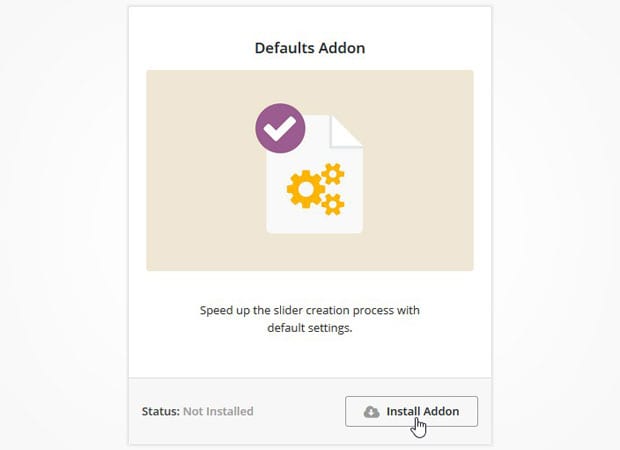
Upon activation, you are now ready to add your default WordPress slider settings and save some valuable time!
Step 3: Edit the Soliloquy Default Settings Slider and Add Your Settings
You will find a new Soliloquy Default Settings slider with the list of other sliders.
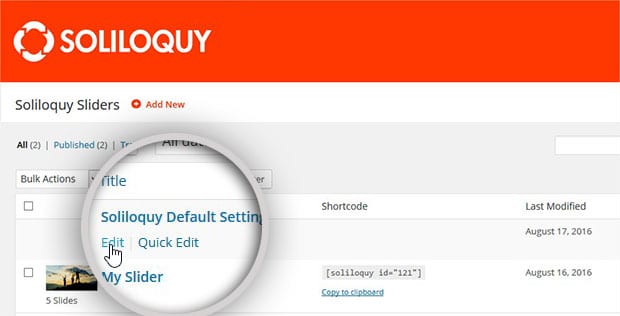
Simply edit this default slider with whatever settings you like. You can change the configuration, add CSS classes, and more.
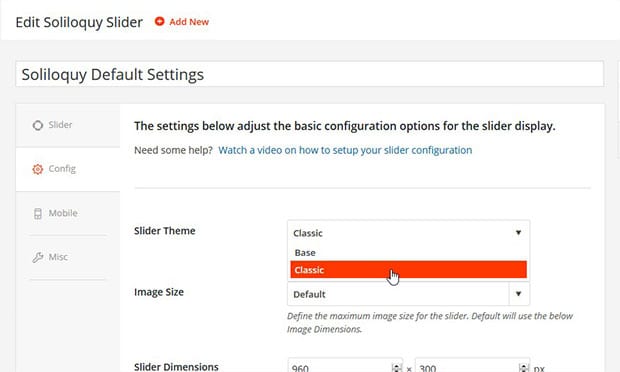
If you are using any other Soliloquy addons, then you can also choose the settings for those addons that you want to set as the default for all new sliders.
Step 4: Create a New Image Slider with Soliloquy
Now that your default settings are ready, you can go to Soliloquy » Add New to create a new image slider in WordPress.
It will show you the option to choose “Inherit Config from”. You can select the “Use Soliloquy Default Settings” from the dropdown, and click on the Create Slideshow button.
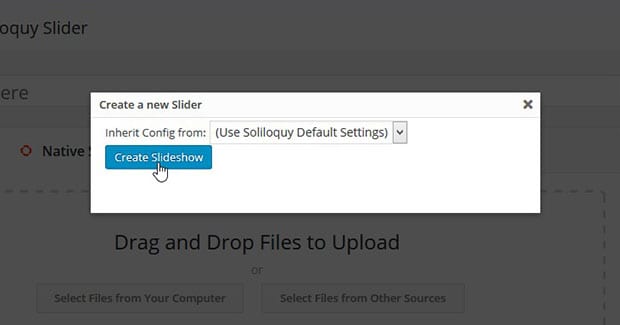
All of your default settings will be loaded automatically. All that’s left to do now is to give a title to your slider and add your images in the Native Slider section.
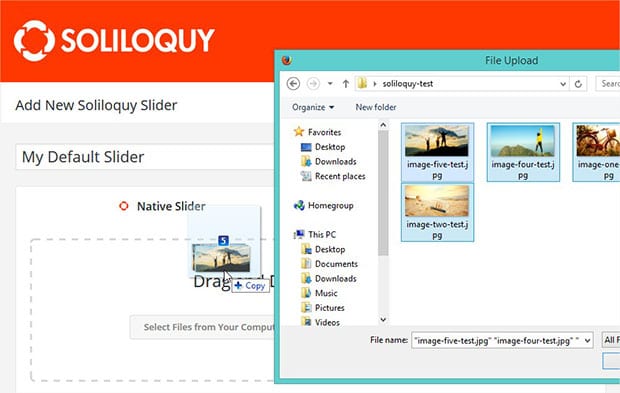
Once all of your images are added, go ahead and hit the Publish button. A new sidebar widget will appear with the shortcode and some other information that you will need to add your slider to your WordPress site in the next step.
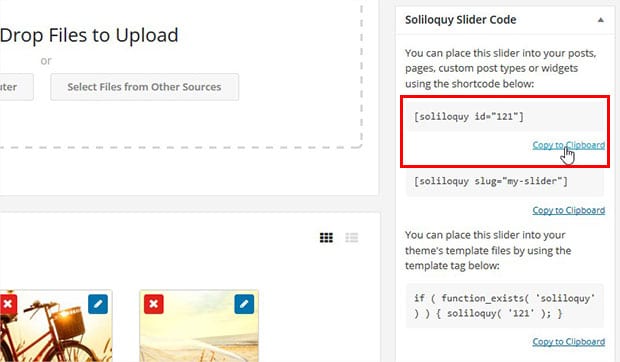
Step 5: Add Slider to Post or Page
Finally, you can go to Posts » Add New and paste the shortcode into the visual editor to add your image slider.
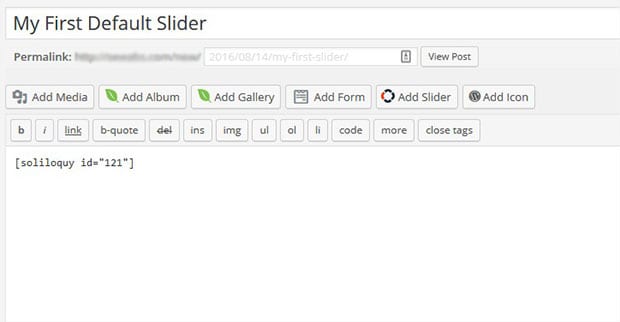
That’s it! We hope this article has helped you to learn how to setup default WordPress slider settings to save time. We have some other WordPress tutorials for you to check out if you’re interested!
- How to Create a Responsive Slider for Envira Gallery
- How to Schedule Your WordPress Slider and Images
- Optimize WordPress Slider Images for Fast Loading
If you like this article, then please follow us on Facebook and Twitter for more free WordPress tutorials.


Andrew Chuang
Tried installing this but slider is not loading. Chrome console states
“Uncaught ReferenceError: jQuery is not defined at soliloquy-min.js?ver=2.5.3:1”
I’ve tried removing and reinstalling , but to no avail. Am I doing something wrong?
Jack Pistro
Thanks for Sharing
Ready to start creating slides the easy way?
Get Soliloquy NowCookie Consent