
How to Manually Update WordPress Plugins via FTP
By default, WordPress comes with a fabulous plugin updater right on the admin dashboard. It tells you when something is out of date, as well as handling the updates and installation for you. This applies to plugins, themes, and even WordPress itself! Usually, this functionality works perfectly and you won’t need to do anything but click “update now”.
However, when you find that you need to update your plugins manually — because the updater stops working, you’re locked out of your dashboard, or you just prefer to do it that way — don’t stress. There is a way! This guide will teach you how to manually update your WordPress plugins with FTP.
Why Update Manually?
With a handy tool that keeps your plugins up-to-date for you, why bother with a difficult manual update? Well, sometimes WordPress will come up with “update failed” — so your only options are to deal with an old plugin, or do it yourself. Or maybe you’ve been locked out of your admin dashboard due to a faulty plugin, and need to download the latest update to fix the issue.
Some admins or their web hosts keep their WordPress site set on very restrictive permissions. This will cause the update to fail, as WordPress won’t be able to modify the files automatically. A manual update is then the only way to get access to new versions of plugins and themes.
Finally, while many plugins that aren’t on the WordPress repository are programmed to work with WordPress’ updater, some are not, and must be uninstalled and reinstalled with every update.
If for any reason you don’t want to or can’t update your plugins automatically, this guide will help you do it with FTP instead.
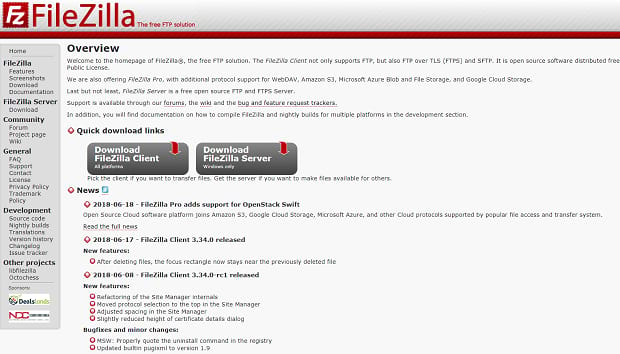
You may still have an important question: what is FTP? FTP stands for File Transfer Protocol. It enables one computer to transfer files to another computer or server. In other words, you can upload files directly to your WordPress installation instead of having to go through the dashboard.
Usually, you can do most important functions in the WordPress admin area, but if you need to get at your installation files manually, FTP enables you to do so. Updating plugins this way is much easier than you’d expect!
Updating With FTP
Before we begin, backup WordPress, either with a plugin or manually. Make sure to always backup your site before making any changes to its files! This method will usually leave your plugin settings intact, as they’re often stored in the WordPress database rather than the plugins folder, but keep an older version of your site’s files just in case.
Also, if your plugin is incompatible with the current version of WordPress, it will often break your site to install it manually. Without backups, you’d have a real problem on your hands.
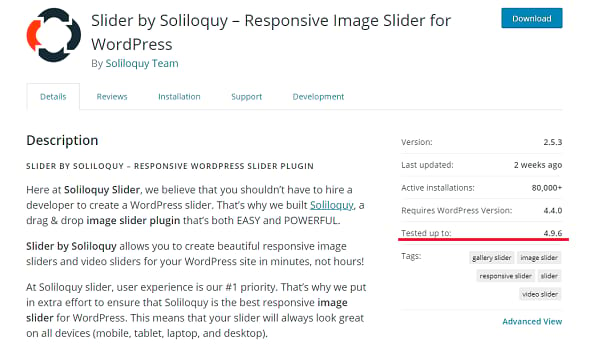
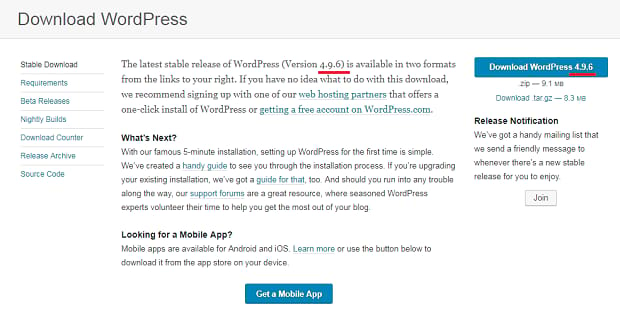
Keep in mind that this guide only works for WordPress.org — WordPress.com users don’t have access to FTP. If you’re using this platform and the admin dashboard isn’t uploading files properly, contact WordPress.com support.
You’ll need a few things before beginning this guide:
- The plugin, first of all! Download it from the WordPress repository, or its website. If it’s a premium plugin, you’ll have to login to the site with your upgraded account and find the download link. Ask the plugin author for help from their website’s support page if you can’t find it.
- You’ll also need your FTP login credentials. These are usually the credentials you use to login to cPanel on your web host. You may be able to find this information on your cPanel dashboard or in an email your host sent you. If not, ask your web hosting provider for the credentials. Make sure to also ask for the right port.
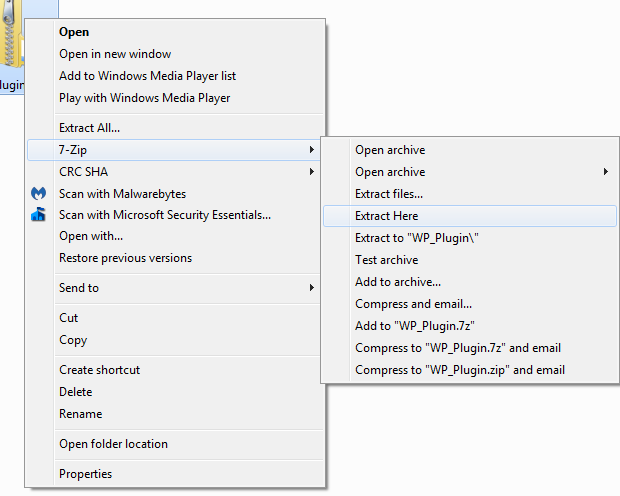
Once you have these ready, let’s get started. Find the plugin you downloaded. Right click the zip file and extract it to your desktop using a tool such as 7Zip or WinZip. (Make sure you download and extract it onto your computer, not on your WordPress server.) If there’s a “readme” file in the folder, read through its instructions to see if there’s anything special you need to do during the installation process.
Now that you have the folder extracted, it’s time to get into your website with FTP! To access your site’s files, you’ll need a client like FileZilla or WinSCP. Login with your FTP login credentials.
Once you’re in, navigate to the “wp-content/plugins” folder and find the installation for the plugin you want to update. Now you have a few choices:
- The safest option: Right-click the folder and click “Rename”, then add “-old” to its name. So if the name of your plugin is “Soliloquy”, name it “Soliloquy-old”. WordPress will automatically deactivate this plugin, but if something goes wrong, the files will still be there and you won’t need to roll back your site!
- Alternatively, you can rename the folder, download it to your computer, and delete it from your WordPress server. Then you won’t need to go back and delete the plugin later, but you’ll still have the files if the update doesn’t work.
- The quickest route: Simply delete the folder and move on.
Now that you’ve deactivated or deleted the outdated plugin, find the folder you extracted to your computer (not the original zip file!). Though it varies depending on what FTP program you’re using, look for the “Local” or “Local site” section, and the folder should be right on your desktop. If not, try checking your downloads folder.
Once you find it, right-click it and click “Upload” to put it in “wp-content/plugins”, where the old plugin used to be. Once it’s done uploading, that’s it — your plugins are updated!
However, we’re not finished. You should now go to your WordPress admin dashboard. Make sure that the updated plugin is active, and that your website is working without issues. (If you kept the old folder and see two copies of the same plugin, this is normal.) If it works, go ahead and delete the old plugin folder, if you haven’t already.
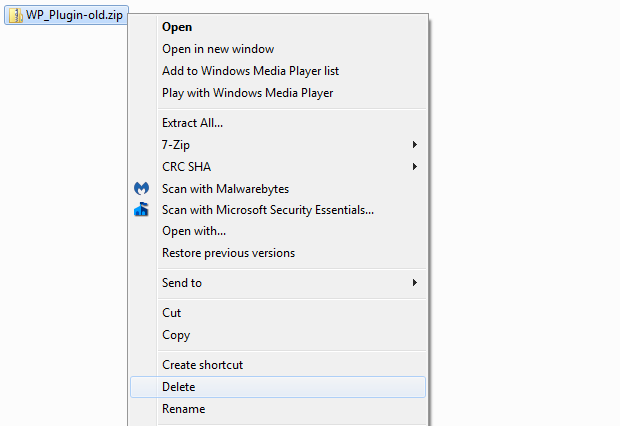
It’s as simple as that! WordPress should keep your old plugin settings intact, and you now have the newest version live on your website.
Easy Manual Updates!
When WordPress messes up, don’t worry — now you know how to manually update your plugins! So when you need to take things into your own hands, you won’t have to worry about going without new features or poor security due to out-of-date plugins.
If you’re looking for more plugins to download (that hopefully won’t break your site!), try these 14 responsive plugins, or plugins that will help you beautify your WordPress site.
Did you use this article to fix the problem you were having? How about following us on Facebook and Twitter for more WordPress tips and tutorials? We hope you learned something from this guide!


