How to Create a Slider for Sales and Events
Do you want to make a time-sensitive slider for your website’s important events? With the holiday season around the corner, it might be time to start prepping for those important sales. Or maybe your website is hosting an event soon and wants to let every visitor know about it! If you’re hosting any kind of time-sensitive event, here’s the solution: a scheduled slider!
Whether you want to schedule entire carousels or individual slides, just follow these steps and your website will be ready for that crucial event.
- Step 1. Install and activate Soliloquy
- Step 2. Create or edit a slider
- Step 3. Add scheduling and publish!
Step 1. Install and activate Soliloquy
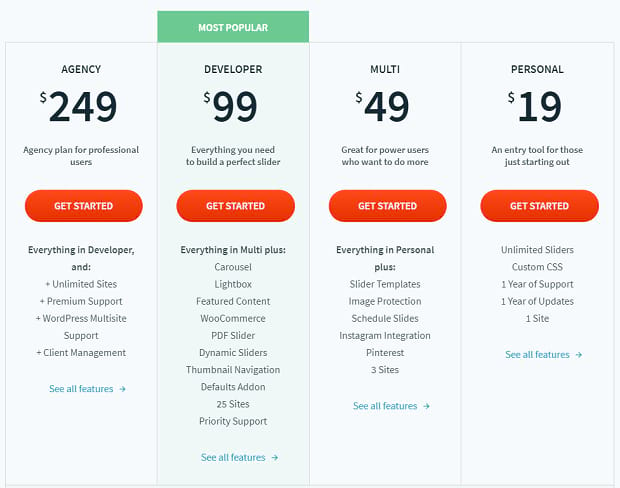
To get started, you’ll need to install Soliloquy. The Multi license or higher is required to use the Scheduling addon as well. Without it, you would need to remove slides manually once the event is over.

Make sure to check out our installation documentation. The easy-to-follow steps will make setting up Soliloquy a breeze. Here’s the quick rundown: Once you’ve purchased Soliloquy, go to Plugins on your WordPress dashboard, upload the plugin files, and paste in your license key.
Step 2. Create or edit a slider
If this is your first time using Soliloquy, you’ll need to create your first slider by going to your admin panel and clicking Soliloquy » Add New. Add a title, upload the images you want, and make sure your important event slides are listed first!
If you want to edit a previously-created slider, click Soliloquy to see the list. Find your slider and upload the event images you created. You may want to add a caption by clicking the blue pencil in the corner of the photo you uploaded.
Step 3. Add scheduling and publish!
Now it’s time to make your slider appear and disappear at a certain date. If you’ve activated the Schedule addon, you should see a tab marked Schedule in the slider options list. Click Enable Scheduling, note the current server time, and set your slider’s start and end date.
If you want the slider to stay active forever, or have published it already, you can skip either of these options.
Now you need to publish your timed slider. Click Update or Publish and copy the shortcode from the Soliloquy Slider Code box. Navigate to the post or page you want to add it to within your WordPress dashboard, and simply paste the shortcode in. If you look at your site, the slider should be invisible until it reaches the start date!

Are you trying to add temporary slides to an existing slider instead? Just edit the carousel and go to the list of images under Slider. Upload the event images and click the blue pencil on their icon. Now click Schedule Slide? and configure the dates here. Update and check out the slider, and the images should remain invisible until the scheduled time!
If you have a Developer license or higher and are wanting to schedule multiple event banners at once, you might also want to try the Carousel addon or Thumbnails addon. Your visitors will be able to see that you have multiple specials and events to browse, so they’ll be more inclined to click through all of them.
Creating Event Sliders
E-commerce sites, companies that host frequent events, and more can all benefit from a scheduled slider. Create a slider that disappears when the event is over, or simply add some slides that will disappear on their own; either way, Soliloquy has you covered.

Now that your site is ready for its next big affair, you might also want to add a Pin It button to your slides so your visitors can let everyone know about the exciting event!
Don’t forget to follow us on Facebook and Twitter! We post all sorts of WordPress tutorials and resources.


